1. Choose the camera position first
Pick the view you actually need, such as front door, driveway, side access, gate, or rear patio. Aim for a clear angle with faces visible at useful distances.
Try to avoid pointing directly at bright sky, strong reflections, or moving branches that can trigger alerts all day.
2. Check privacy before drilling
Keep the camera focused on your own entrances and boundary where possible. Avoid pointing straight into neighbours' windows, gardens, or shared private spaces.
If the camera view includes a public path or road, use app privacy zones and motion zones to limit what is recorded and alerted on.
3. Test Wi-Fi and app signal at the mounting spot
Before fixing anything, hold the camera in the planned location and confirm a stable connection in the Eufy app. Solid signal now saves a lot of headaches later.
Thick walls, foil-backed insulation, or distance from router/HomeBase can reduce reliability, especially at side and rear elevations.
4. Check mounting surface and fixings
Use fixings suitable for brick, block, render, timber, or masonry. Avoid weak or crumbly mortar joints where screws can loosen over time.
If the wall is flaky render or old soft brick, take extra care with pilot holes and choose fixings that match the surface condition.
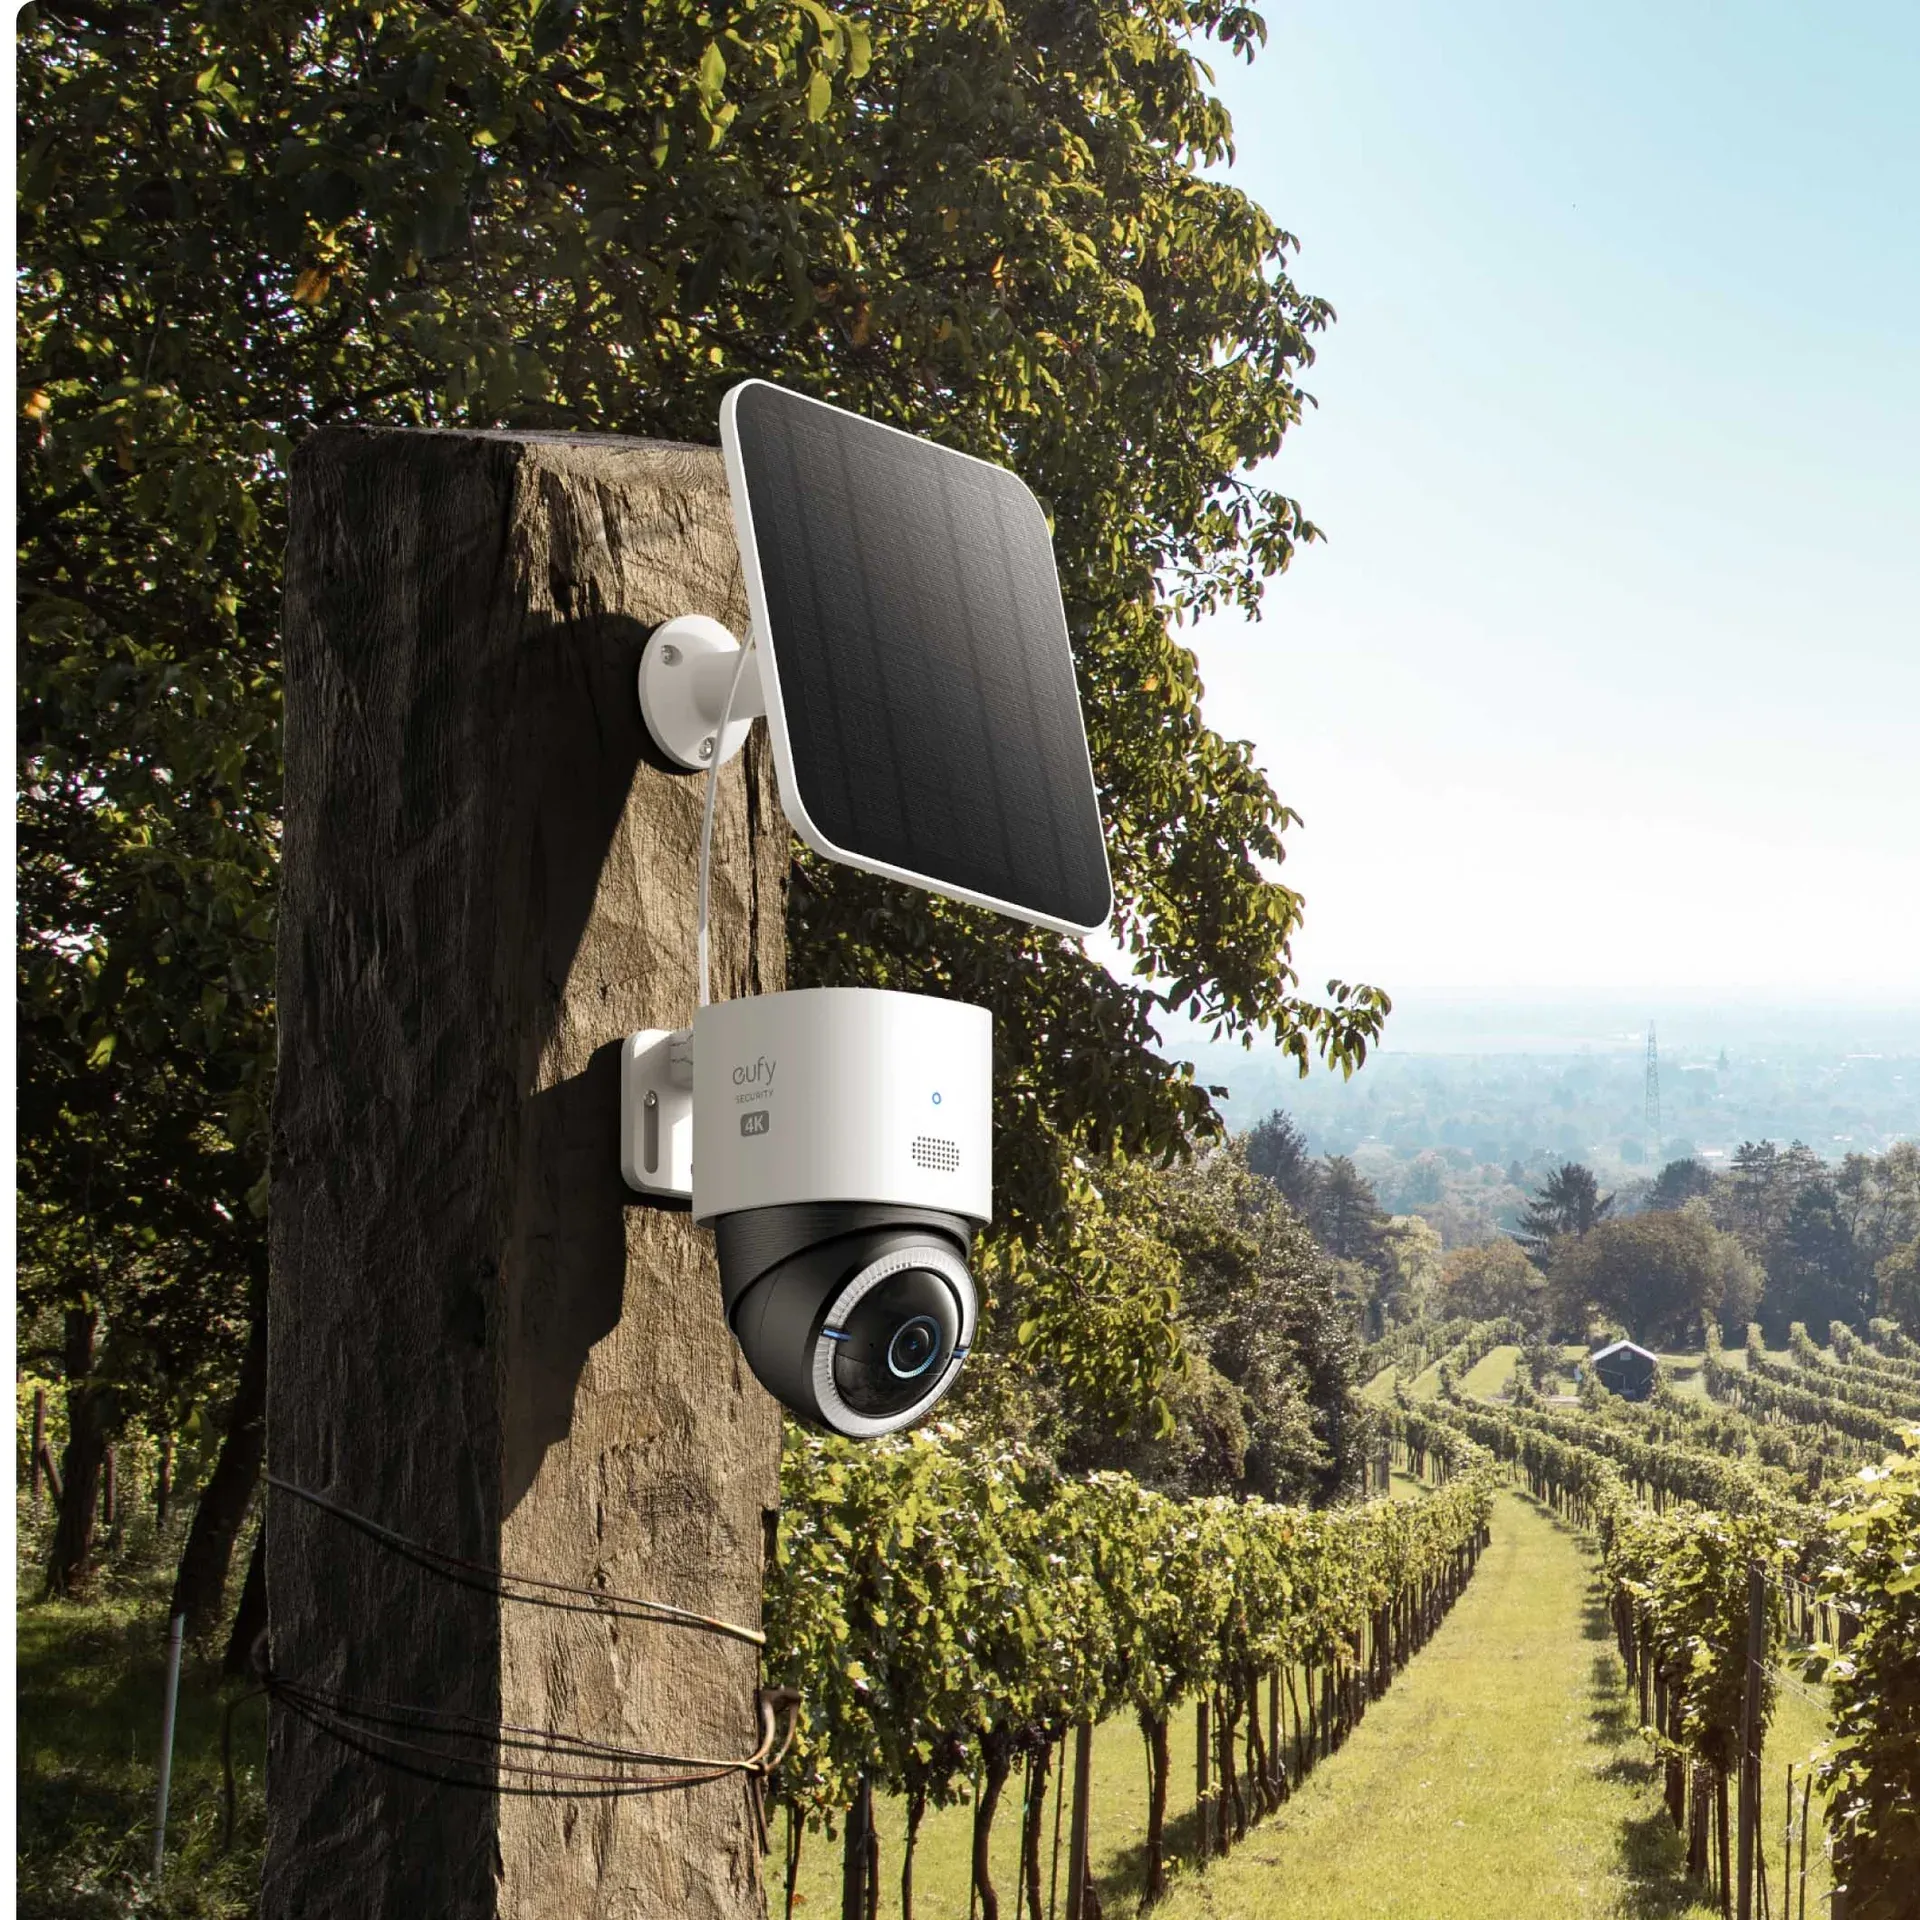
5. Set mounting height and angle
A practical height is often high enough to reduce tampering but low enough to capture faces cleanly. Keep the lens angled slightly down and avoid over-tilting.
If your model uses a separate solar panel, choose a position with decent daylight and a short, tidy cable route.
6. Mount bracket, then camera
Mark and drill pilot holes, fit wall plugs or suitable anchors, then secure the bracket firmly. Do not overtighten and crack render or strip fixings.
Attach the camera to the bracket and do a quick stability check before final app setup.
7. Pair in app and update firmware
Follow the in-app pairing steps for your Eufy model and HomeBase if used. Run firmware updates so motion detection and stability start from the latest version.
Set device name and location clearly, especially if you plan to add more than one camera later.
8. Configure useful motion settings
Set activity zones so passing traffic, trees, and street movement do not flood your phone with notifications. Tune sensitivity and recording length to your property layout.
Test both daytime and night-time view before calling it finished. Night glare from nearby lights can change what the camera picks up.
9. Check charging and ongoing maintenance
For battery models, monitor charging performance in the first week so you know the panel position is working in real conditions.
Wipe the lens occasionally and check brackets after high winds. Small checks keep footage sharp and alerts reliable.
When to ask for help
Call Richard if you want clean cable runs, secure external mounting, camera repositioning, or help setting practical detection zones. If your install needs new mains wiring, that should be handled by a qualified electrician.
Need a wireless camera fitted neatly?
The Sandwich Handyman can help with practical security camera mounting, setup checks, and small external fitting jobs around Sandwich and nearby East Kent villages.
Contact Richard