1. Check the rail type and curtain weight
Start by checking what you are fitting: a curtain pole, a track, or a combined rail system. Light voiles need less support than lined curtains or blackout curtains.
Heavier curtains need stronger fixings and usually an extra centre bracket to prevent sagging.
2. Mark the rail height and width
A common starting point is around 10 to 15 cm above the window opening, then extend each end past the frame so curtains can stack back without blocking the glass.
Measure both sides carefully so the rail looks centred. A slight mismatch is more obvious than people expect.
3. Find out what is behind the plaster
Above windows you might hit plasterboard, brick, block, timber lintel, steel lintel, or concrete. In many homes, one side can feel different from the other.
Use a detector where possible and drill a small pilot hole first to confirm what you are fixing into.
4. Use the right fixings for the wall type
For plasterboard, use proper hollow wall anchors or toggles rated for the load. For heavier curtains, try to pick up timber studs or solid material behind where possible.
For brick or block, use wall plugs with suitable screws and a masonry bit. Avoid loose mortar joints, because they can crumble and let brackets work loose.
For timber lintels, use wood screws long enough to get a good bite. For concrete lintels, use a masonry bit and suitable heavy-duty plugs or concrete screws rated for the load.
If you hit steel lintels, stop and reassess before forcing it. Steel can need different fixings and a different approach.
5. Mark brackets with a level
Hold the end brackets in place, mark the holes, then use a spirit level to line up the opposite side. Add the centre bracket after checking the rail span and manufacturer guidance.
If the rail is long, a centre support is usually worth it even when not strictly required.
6. Drill pilot holes and fit brackets
Drill the correct size hole for your fixing. Holes that are too large leave plugs loose, and holes that are too small can split plugs or make screws bind.
Fit each bracket firmly, but do not overtighten and crush plasterboard or strip out the fixing.
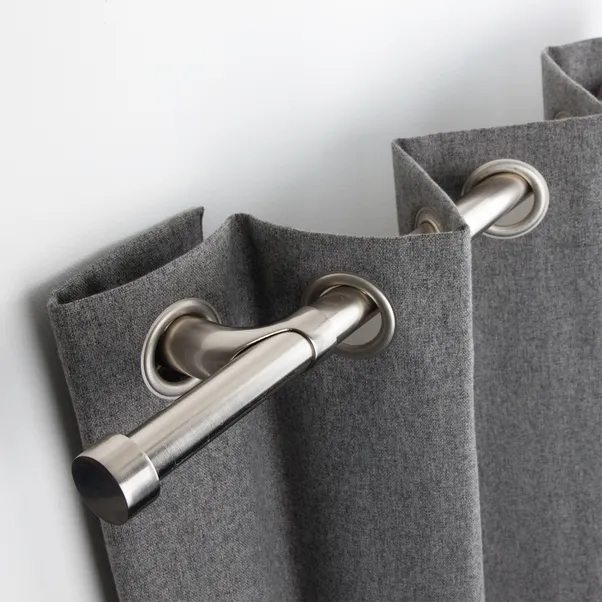
7. Fit the rail and check movement
Fit the rail or track, then slide the gliders or rings from end to end. They should move freely without catching on a bracket screw or an uneven joint.
Hang the curtains and check for sagging, rubbing, or noisy movement before final tightening.
8. Final safety check
Give each bracket a firm hand check once everything is up. If a fixing moves, do not ignore it and hope for the best.
Rework that fixing while the rail is empty, rather than waiting for the rail to pull down later.
When to ask for help
Call Richard if the wall material is unclear, the window is wide, the curtains are heavy, or your pilot holes are not giving a solid fixing. This is especially true in older properties where the wall build-up changes above each opening.
Need curtain rails fitted properly?
The Sandwich Handyman can help with curtain rails, blinds, mirrors, pictures, shelves, and practical home fitting jobs in Sandwich and nearby villages.
Contact Richard